The Complete Guide to Newborn Photography: Timing, Techniques & What to Skip
Discover how to capture stunning newborn photos that preserve those fleeting first weeks. Learn optimal timing for sleepy poses versus awake expressions, essential safety guidelines, environmental setup tips, and wardrobe choices. Whether hiring a professional or shooting at home, this guide ensures beautiful, authentic images you'll treasure forever.
The Complete Guide to Newborn Photography: Timing, Techniques, and What to Skip
Those first weeks with your baby move in a blur of feedings, diaper changes, and precious, fleeting moments. Newborn photography offers a way to press pause on this extraordinary chapter—to capture the way your baby's hand curls, the softness of their hair, the peacefulness of their sleep. Whether you're hiring a professional or creating memories at home, understanding the fundamentals of newborn photography helps ensure you end up with images you'll treasure for decades.
When to Schedule Your Newborn Session
Timing significantly impacts what your photos will look like and how smoothly the session will go.
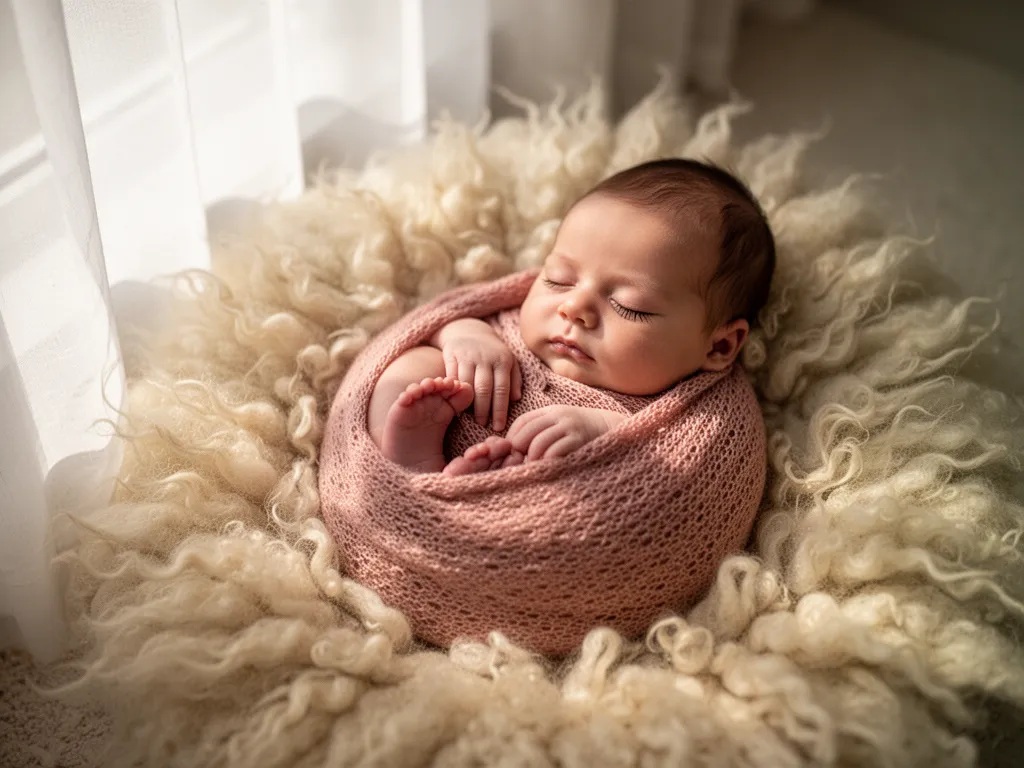
For Posed, Sleepy Portraits: Schedule within the first 14 days after birth. During this window, babies retain that womb-like flexibility and spend most of their time in deep sleep. This makes it easier to achieve those curled-up, peaceful poses that showcase just how tiny and new they are. They also tend to be less reactive to touch and movement, allowing for gentle positioning without startling awake.
For Awake, Expressive Images: Consider waiting until weeks five through eight. By this point, your baby may have longer periods of alertness, making eye contact, and showing emerging personality. These photos capture a different kind of magic—curious gazes, beginning smiles, and the way they track your voice with their eyes.
Practical Considerations: Many families find that scheduling between day five and day ten hits a sweet spot—baby has recovered from birth, feeding is often establishing, but they still sleep deeply enough for variety in poses.
Creating the Right Environment
Newborns are remarkably sensitive to their surroundings. A few environmental adjustments make an enormous difference:
Temperature: Keep the space warm—around 75-80°F (24-27°C). Babies lose heat quickly and become uncomfortable in cool rooms, leading to fussiness and curled-tight body language that doesn't photograph well. If you're shooting at home, turn up the heat 30 minutes beforehand or use a small space heater positioned safely away from baby.
Timing: Plan sessions after a full feeding when possible. A content, milk-drunk baby is far more likely to remain settled through outfit changes and gentle posing. Many photographers recommend the "feed, change, shoot" rhythm.
Lighting: Natural, diffused light produces the most flattering results. Position your baby 45-90 degrees from a large window so light falls across them softly rather than directly overhead. Avoid harsh midday sun; overcast days or morning light near east-facing windows create that ethereal, glowing quality many parents love.
Sound: White noise or gentle shushing helps maintain sleep. The camera shutter, rustling fabrics, or household sounds can startle a light-sleeping newborn.
Safe and Beautiful Posing
Safety always comes before aesthetics. These approaches work well for both professional and at-home sessions:
Simple Lying Poses: Baby on their back on a soft, firm surface (a padded blanket over a firm pad works well) with hands near their face or by their sides. This is the safest position and often produces the most natural, peaceful images.
Side-Lying Variations: Gently roll baby onto their side, supporting their back with a small rolled blanket behind them (hidden from camera). Tuck their hands under their chin for that classic "newborn curl."
Tummy Time: Brief periods on their tummy with their head turned to one side, hands tucked under their chin. Never leave a newborn unattended in this position, and keep the session brief.
Parent and Sibling Shots: Some of the most meaningful images include family connection. A parent holding baby against their chest, close-up of tiny feet in adult hands, or an older sibling's gentle kiss on baby's forehead—these capture relationship, not just appearance.
What to Avoid: Complex poses requiring extensive propping, hanging setups, or positions that put pressure on developing joints should only be attempted by trained professionals with safety spotters. When photographing your own baby, stick to simple, supported positions on flat surfaces.
Wardrobe and Styling
Less truly is more with newborn photography.
The Case for Minimal Clothing: A simple diaper or being swaddled in a soft wrap often showcases your baby best. Elaborate outfits can overwhelm their small frame, create uncomfortable bunching, and distract from their natural features.
Color Palette: Stick to two or three coordinating tones. Cream, soft gray, blush, sage, and natural white photograph beautifully and keep focus on baby. Avoid busy patterns, logos, or neon colors that cast unflattering tones on skin.
Texture Over Pattern: If you want visual interest, introduce it through texture—knit wraps, faux fur rugs, linen backdrops, or wooden bowls (used with direct supervision and padding).
Comfort First: Whatever you choose must be soft against delicate skin, easy to put on without waking a sleeping baby, and appropriate for the room temperature.
Common Mistakes to Avoid
Cluttered Backgrounds: Scan your frame for distracting elements—electrical cords, plastic containers, busy wallpaper patterns. A simple cream blanket or clean wall keeps attention where it belongs.
Overheating with Layers: While warmth matters, too many layers or heavy synthetic fabrics can cause overheating, leading to flushed skin and discomfort. Natural fibers and breathable materials work best.
Excessive Editing: Heavy skin smoothing, extreme color filters, or removing every hint of newborn acne or peeling skin creates images that don't look like your actual baby. These temporary features are part of their authentic newborn appearance. Light color correction and subtle brightening preserve their true essence while polishing the final image.
Forcing the Session: If baby is cluster feeding, having a gassy day, or simply won't settle, reschedule or keep the session very short. Stressed babies photograph as tense babies, and parental anxiety transfers quickly.
Forgetting the Details: Some of the most treasured images aren't faces at all—the wrinkled soles of feet, the way hair swirls at the crown, tiny ears, the perfect bow of lips. Capture these intimate details alongside wider shots.
Making It Work at Home
Professional newborn photography is a wonderful investment, but it's not accessible or preferred by every family. Creating meaningful images at home is absolutely achievable:
- Use your phone's portrait mode near a window during daytime
- Shoot during "golden hour" (first hour after sunrise or before sunset) for warm, flattering light
- Get on baby's level—shoot from the side or above, not standing over them looking down
- Capture everyday moments: nursing, being worn in a carrier, napping on a parent's chest
- Take photos of baby in context—with their going-home outfit, next to a beloved stuffed animal, in the nursery you prepared
Preserving These Precious Days
However you approach newborn photography, remember that the goal isn't perfection—it's preservation. The images that will mean most in twenty years aren't necessarily the most technically flawless ones, but those that genuinely capture who your baby was in these irreplaceable early weeks: tiny, new, and impossibly yours.